Quick Start Guide

Creating a Sentinel Account
Step 1. Register
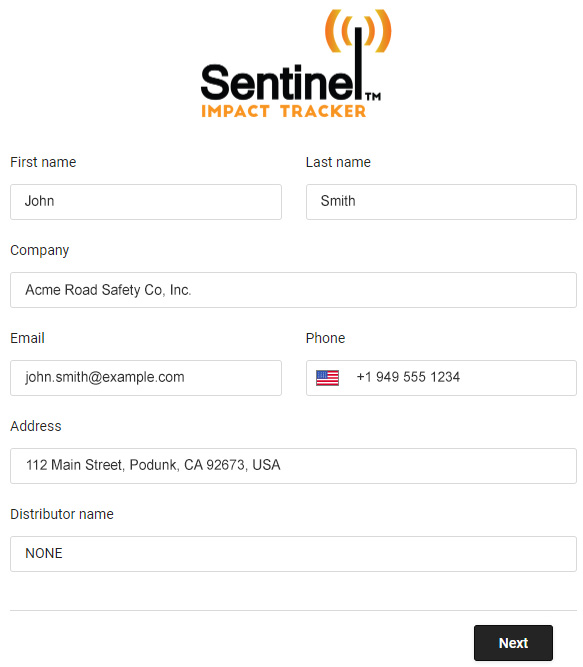
- Go to https://sentinel.traffixdevices.com/sign-up and enter your name, company, email, phone, and address as demonstrated below, then click Next.
- Review the information, if you see any errors click Back and make any edits.
If everything is correct, agree to the Terms of Service and click Create account.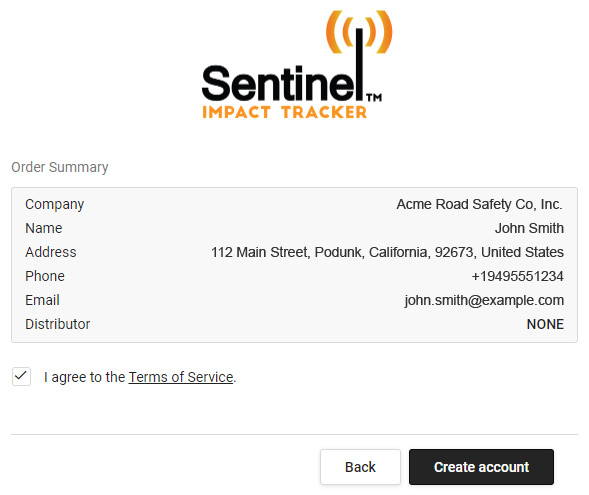
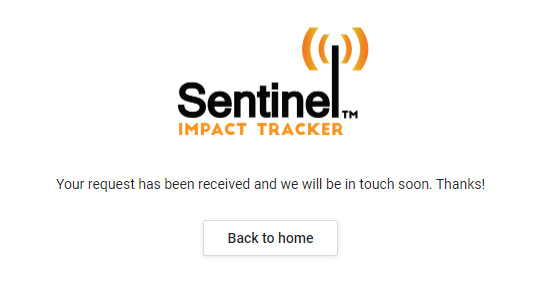
- Your account request will be reviewed by TrafFix Devices personnel for approval and you will receive an email upon confirmation.
Step 2. Wait for Confirmation
Registration approval should be complete in less than 1 business day.
Once approved, you will receive a confirmation email that will allow you to complete your Sentinel registration. Click Complete registration in your email to continue the Sentinel registration process.

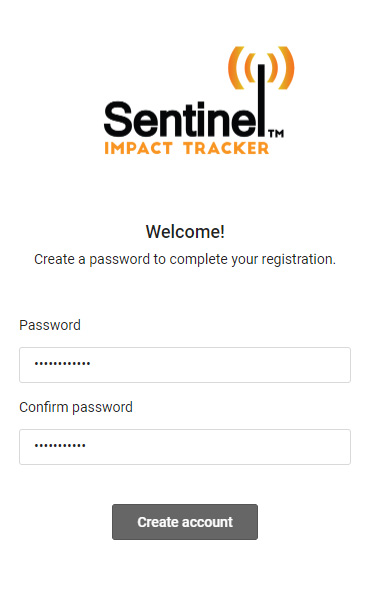
Step 3. Create Password
Create a password to complete account registration, then click Create account
Step 4. Registration Complete
Now that your account registration is complete, you are ready to add Sentinel Units!
Adding Devices
Step 1. Scan QR Code on Sentinel Unit
- To add a Sentinel Unit to your account, use your smartphone's camera to scan the QR Code on the Sentinel sticker and follow the prompts...
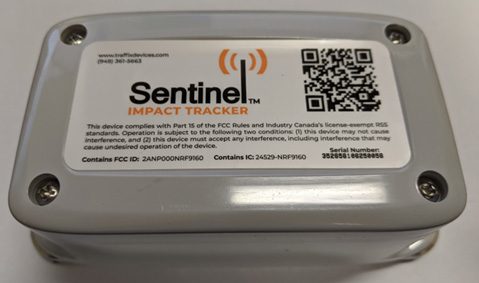
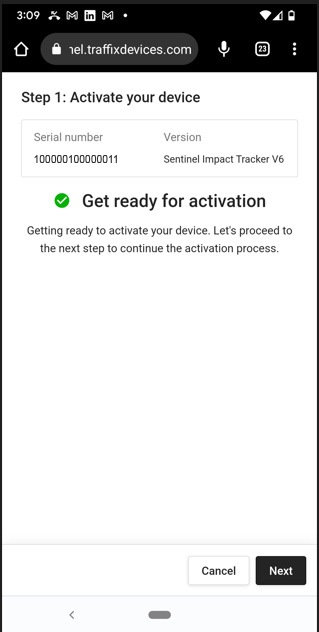
- Scanning the QR on the Sentinel Unit automatically takes you to the Sentinel website. Log in and confirm the device Serial Number on screen matches the Serial on the Unit, then click Next.
Step 2. Configure Sentinel Device
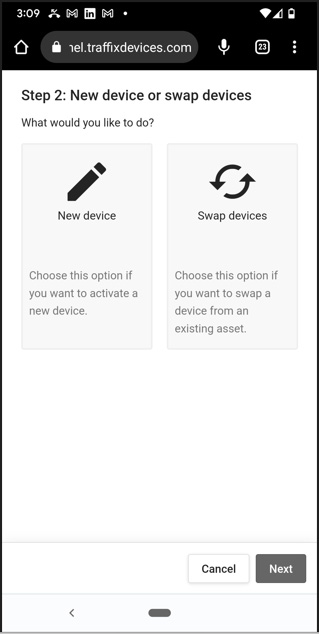
- Select whether this is Sentinel Unit is new or replacing an already existing Unit, then click Next.
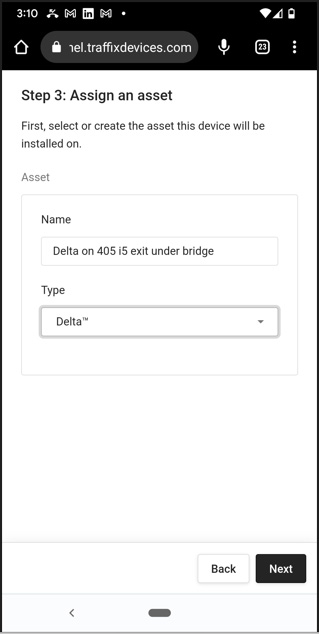
- Give the Sentinel Unit a descriptive name and select what type of attenuation device it is attached to, then click Next.
- Select the Sentinel Unit's Install Orientation and Sensitivity.
If you are unsure, the device will detect its orientation on the first check-in and suggest a correction if required.
Click Next when finished.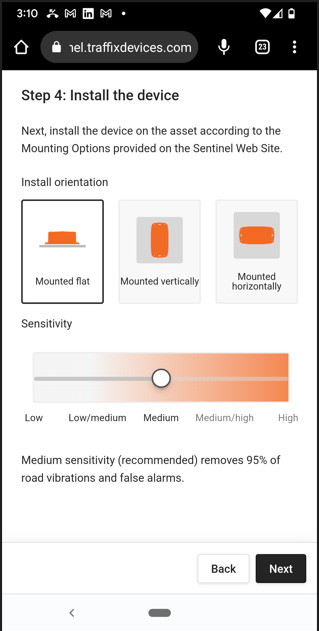
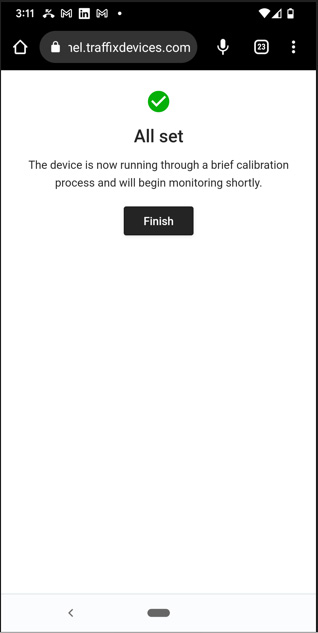
- Done! The Sentinel is configured and will begin checking in. Click Finish to be taken back to your Sentinel Dashboard.
Step 3. Begin Monitoring
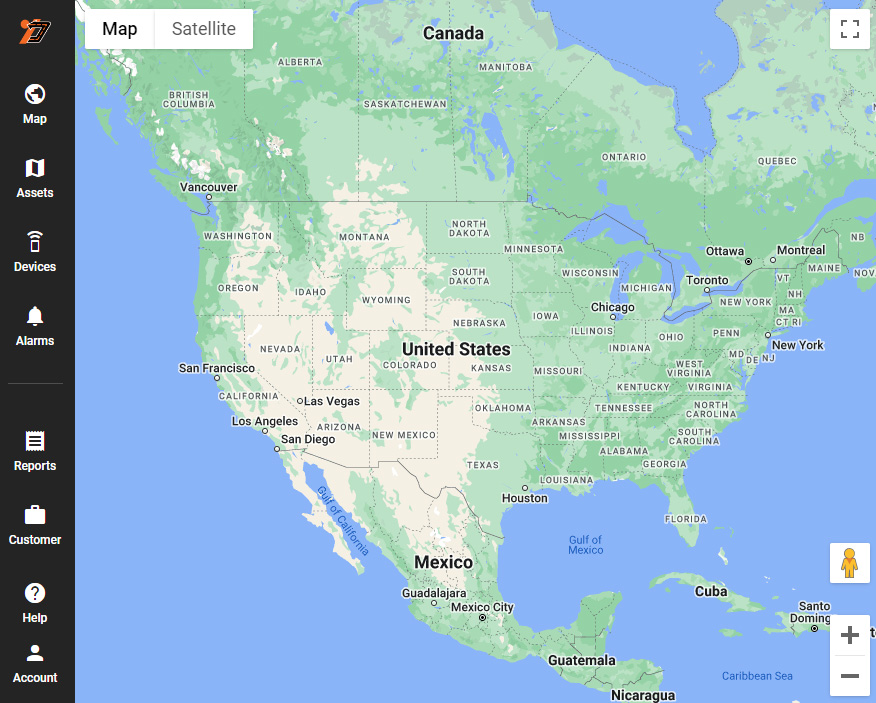
Your Sentinel Dashboard will now display this device on the map and will communicate impacts, via text and email.
Post Impact Procedure
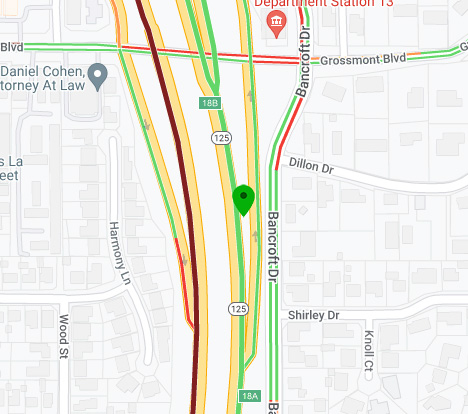
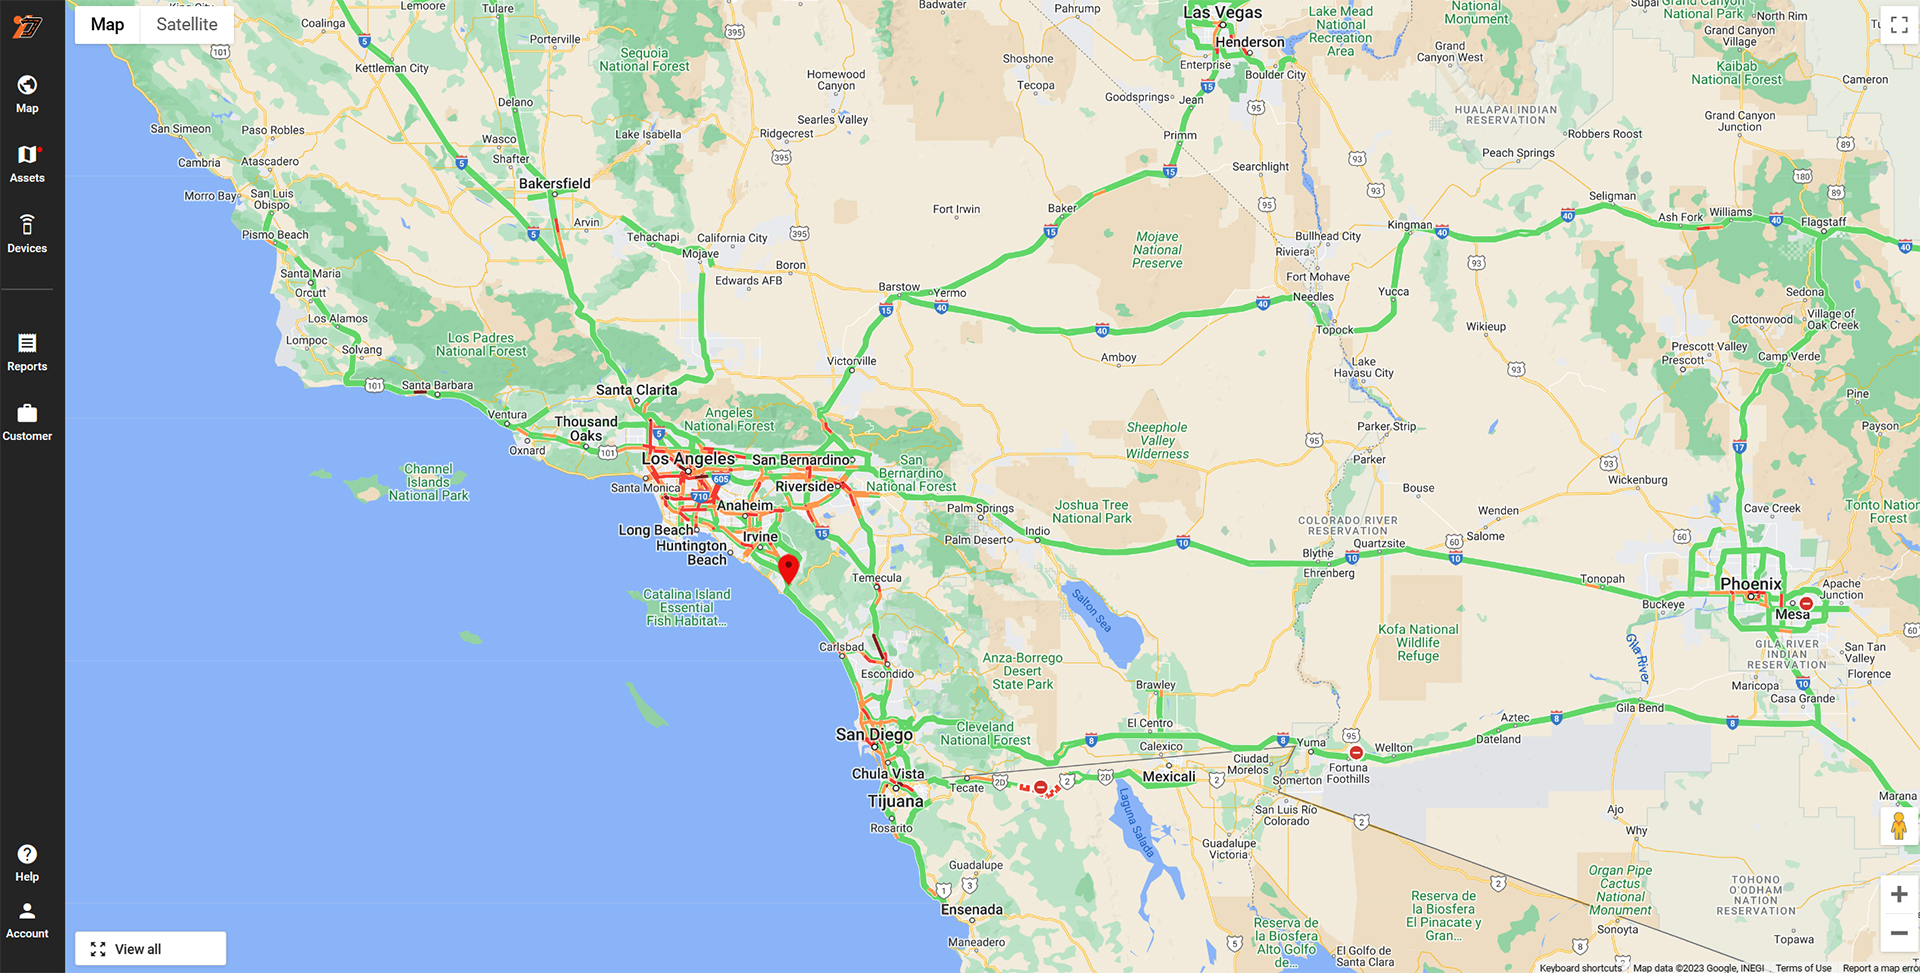
Step 1. View the Asset Map
From the map, find and click on the Asset that has been damaged. Damaged assets are denoted by a Red pin 
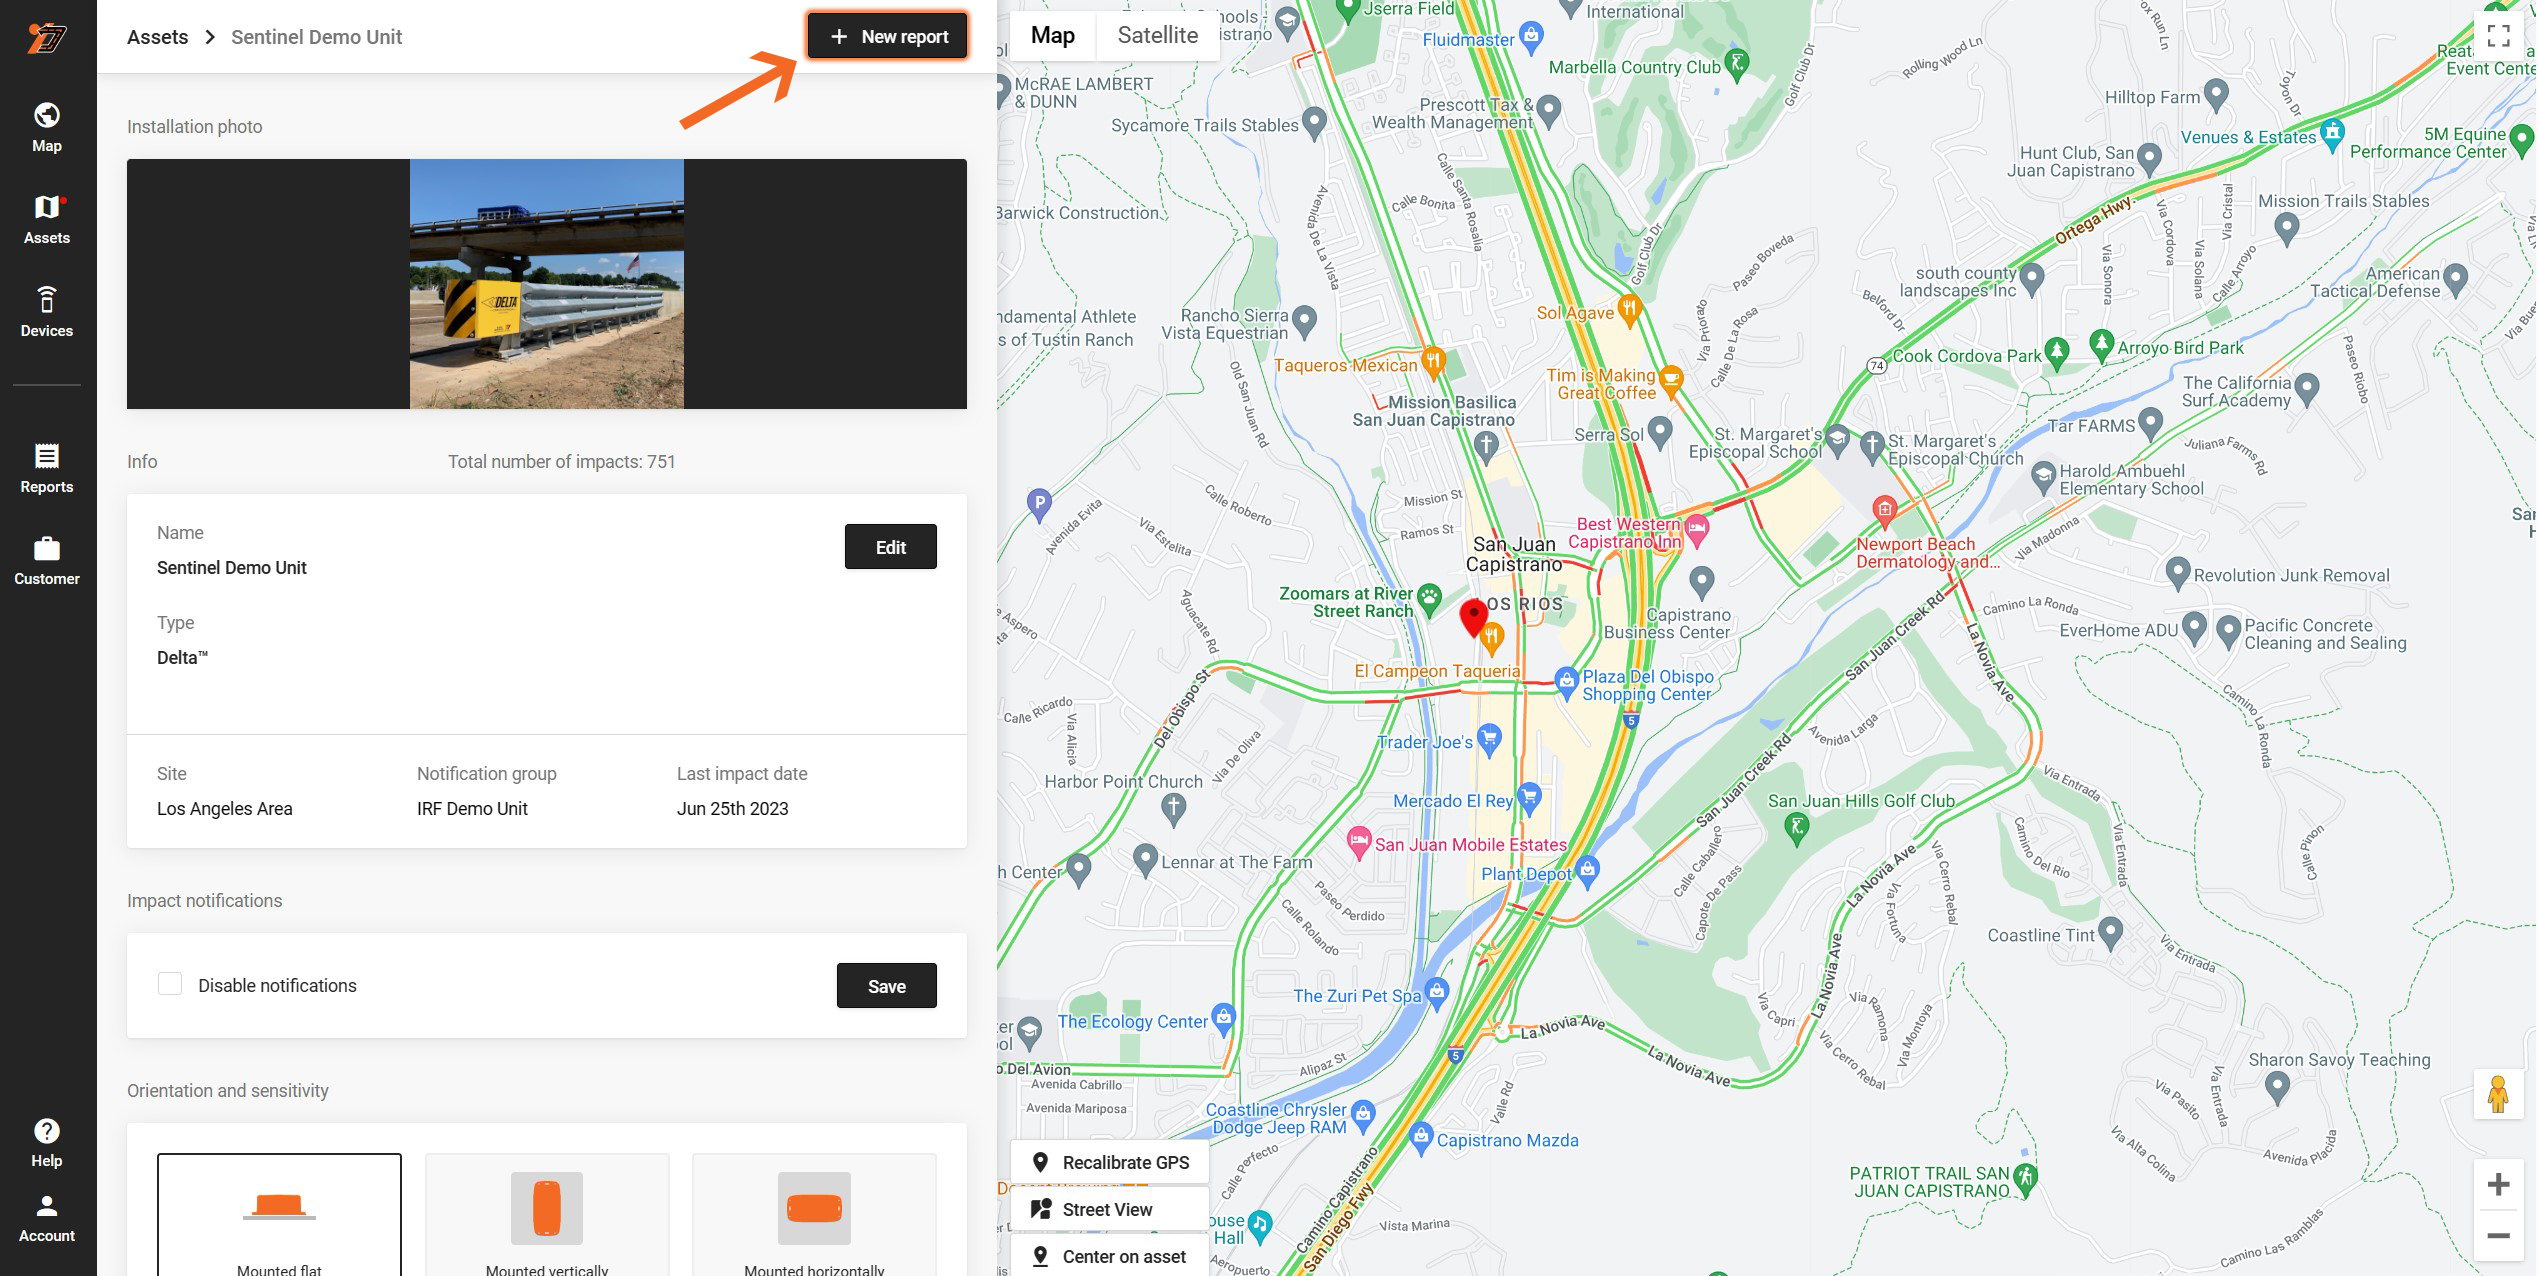
Step 2. Create a New Report
Click the New Report button to create a new inspect report for this asset.
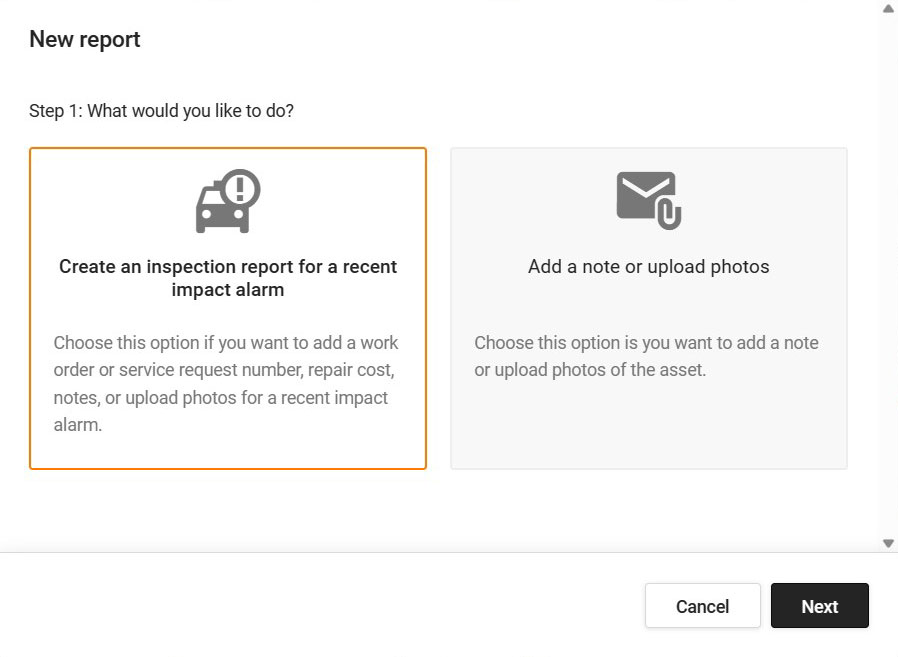
Step 3. Create Inspection Report
Select Create an inspection report for a recent impact alarm, then click Next.
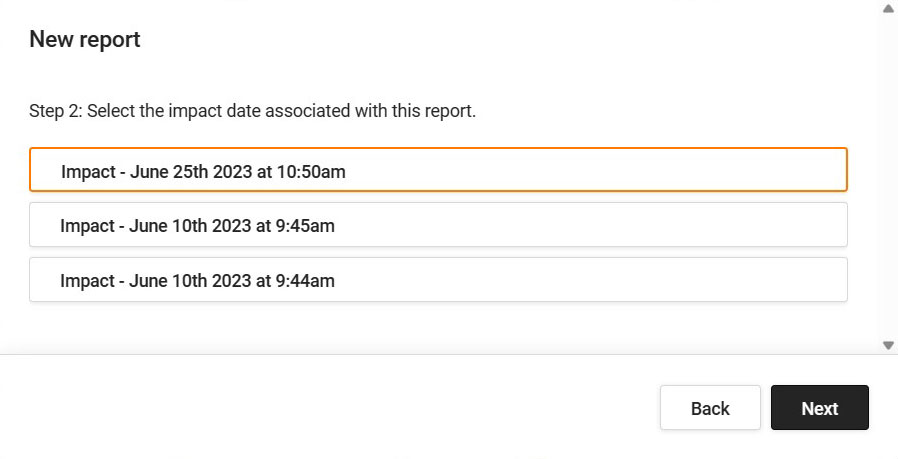
Step 4. Select Impact Date
Select the impact date associated with the report you are creating.
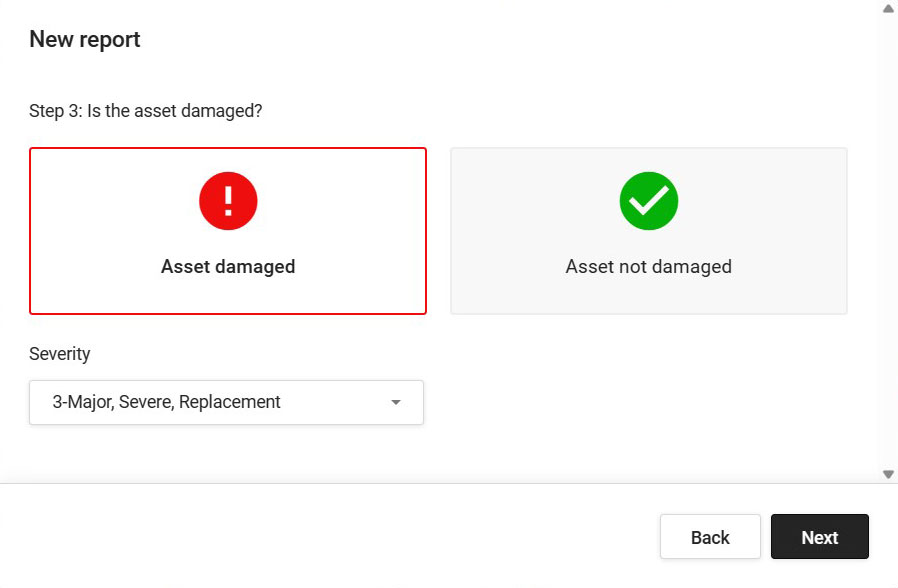
Step 5. Select Asset Condition
If the unit was Damaged, select the Severity of the damage on a scale from 0-3.
Click Next to proceed.
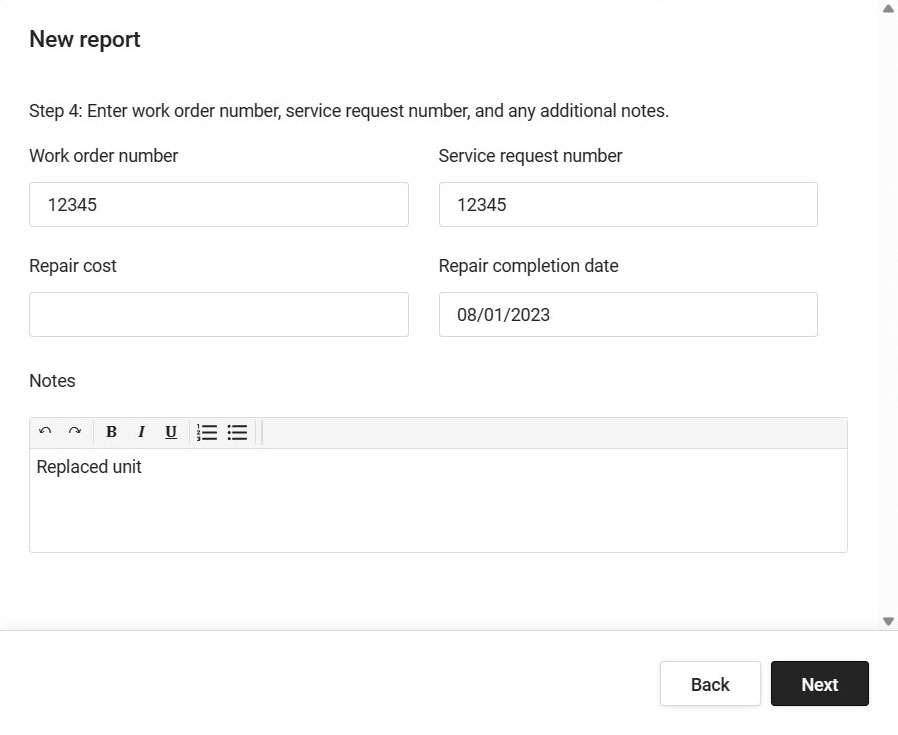
Step 6. Complete Inspect Report
Complete the report by adding Work order number, Service request number, Repair cost, Repair completion date, and/or any Notes associated with this impact.
Images can be uploaded in the next step.
Click Next to continue.
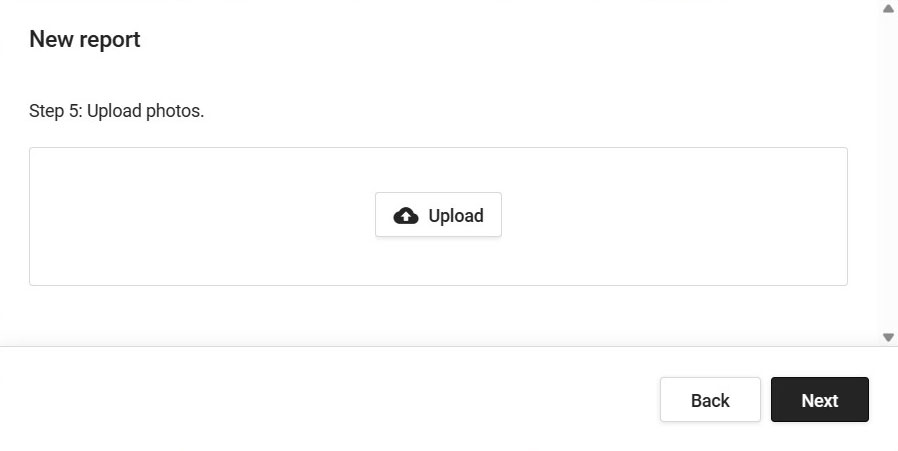
Step 7. Attach Photos
Click the Upload button to select one or more images to attach to the Inspection Report.
Click Next when finished.
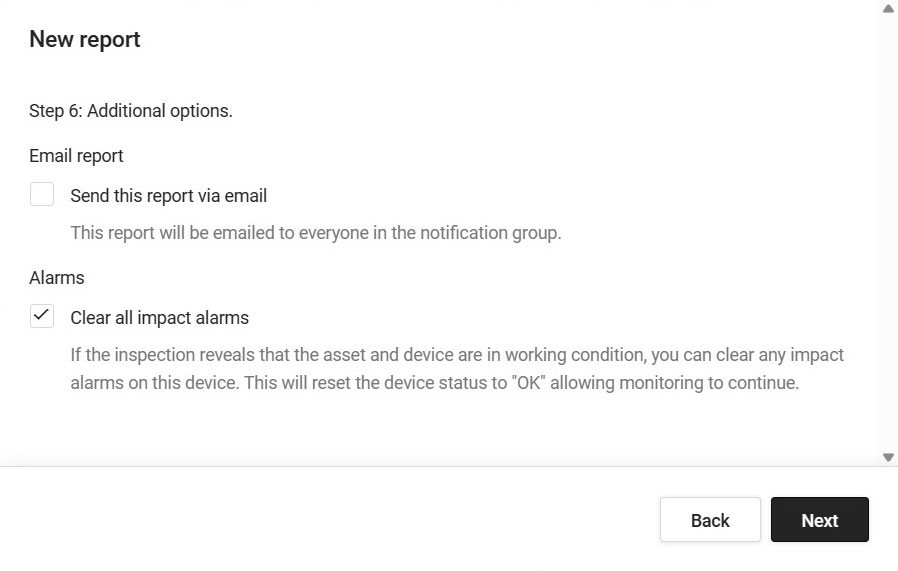
Step 8. Select Additional Options
Select any additional options...
- Email report
- This report will be emailed to everyone in the notification group.
- Clear all impact alarms Automatically Selected
- If the inspection reveals that the asset and device are in working condition, you can clear any impact alarms on the this device. This will reset the device status to "OK", allowing monitoring to continue.
After selecting any additional options, click Next to continue.
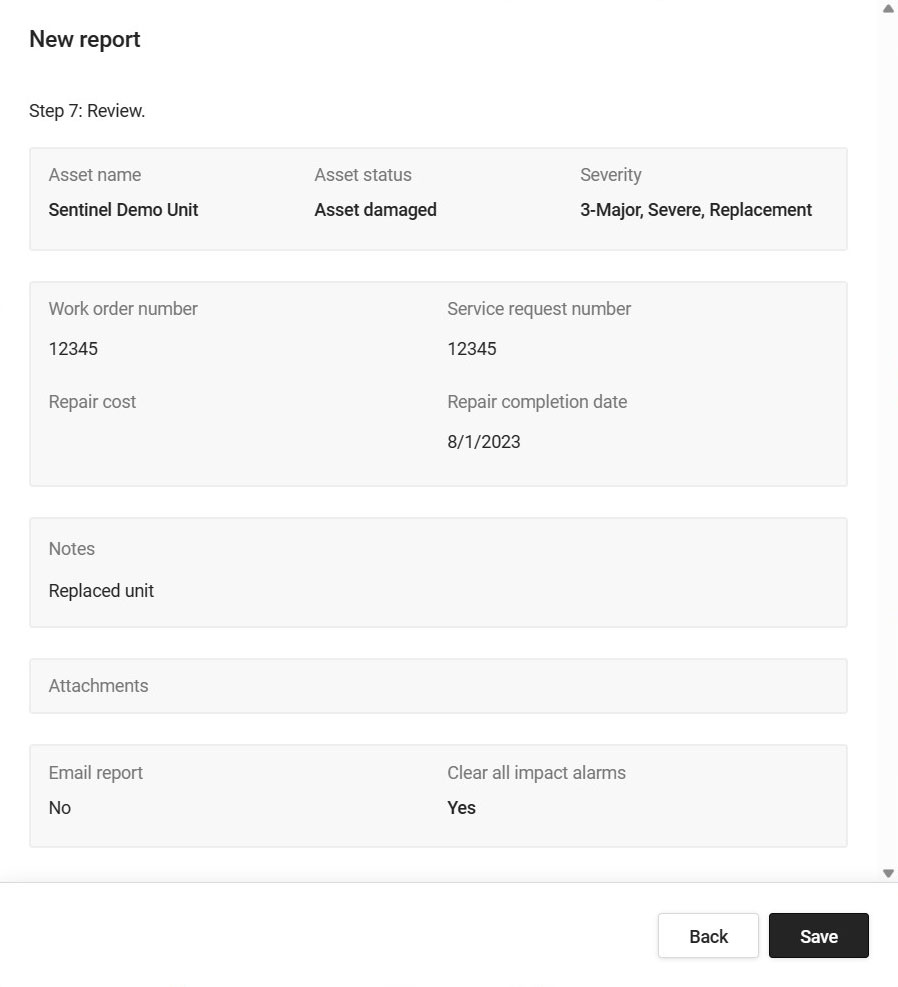
Step 9. Final Review
Review the report. If any mistakes are found, click Back to go through the previous steps and make any required changes.
Click Save when finished.